How to design your own scrapbooking paper
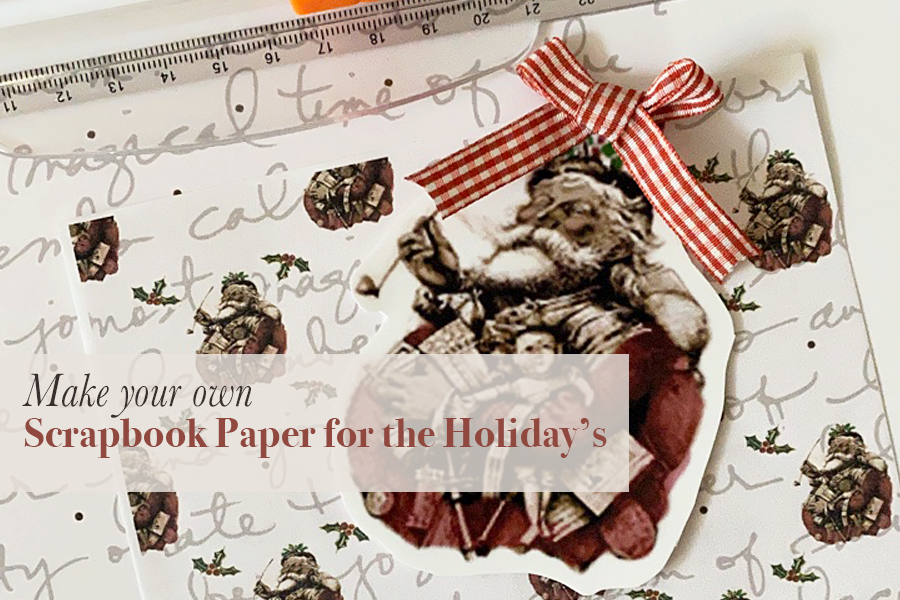
Have you ever thought about making your own holiday scrapbooking paper to use as wrapping paper or in your December Daily 2021 album? I made this fun holiday paper will make the attempt at showing how I did it.
I started by searching on line for an image of a vintage looking Santa. I found this super cute Santa that I wanted to use as a black and white or sepia image then add color from the color palette I chose for my December Daily project. That was my starting point.
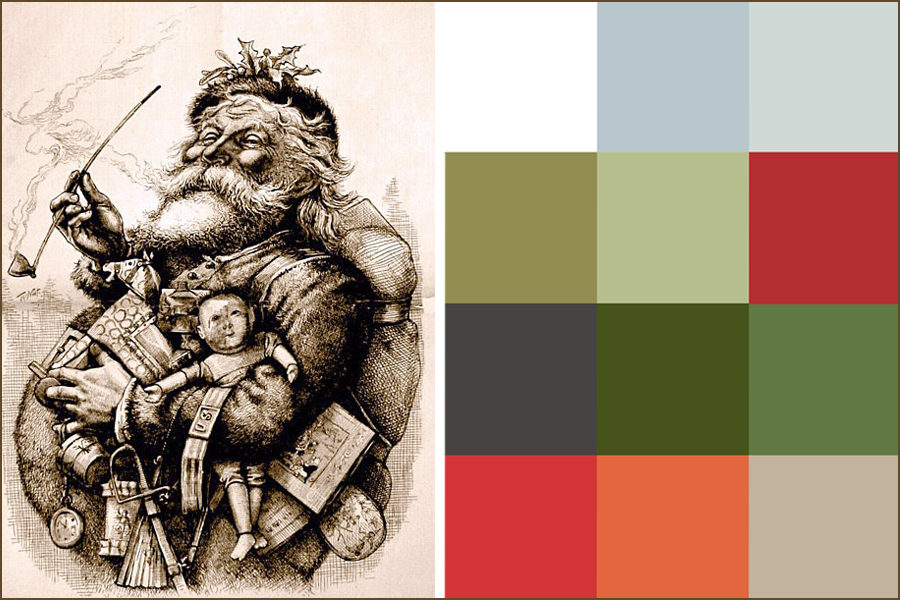
You can make your color palette match a photo that is the main subject matter of your December daily scrapbook page, or pull colors from a sketch or piece of your personal artwork. The sky is the limit.
Some of the colors I have chosen are from this years Ali Edwards December Daily 2021 Main Kit.
To color my Santa, I opened the image in photoshop. The first thing I wanted to do was give Santa a darker skin tone. I used the brush tool and chose a darker sepia tone
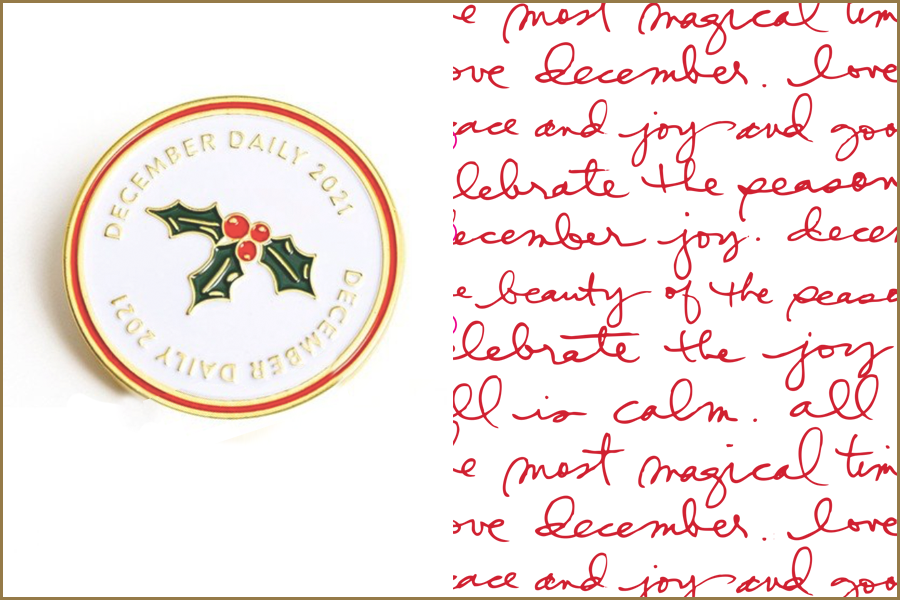
from the image to color Santa’s skin. I darkened the dolly also. Next I used one of the berry colors to add to Santa’s coat. I did the same to the holly and berries atop his hat.
I have a supply of previous December Daily digital kits that I went through and found this all over script overlay; from this years kit, I pulled holly and a single berry to make this paper.
I chose my background color from the Santa image, then used the overlay and added Maroon or Burgundy dots. The other paper is the same as the first side with the addition of Santa and the holly leaves and berries.
In order to move the holly leaves to my design, I used Photoshop Elements. I’m sure that there are several ways to accomplish the same goal, but I used the Lasso tool to select the image then moved it to my project.
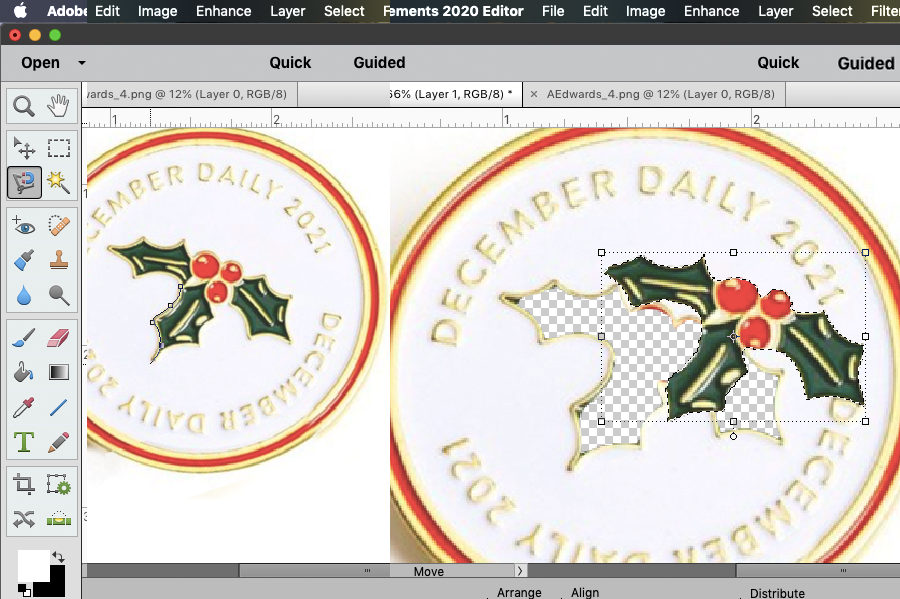
I reversed some of those leaves to add a bit of variety. I think when I do this particular pattern again, I will also reverse some of the Santas so they are not all facing the same direction. You can see the final results below
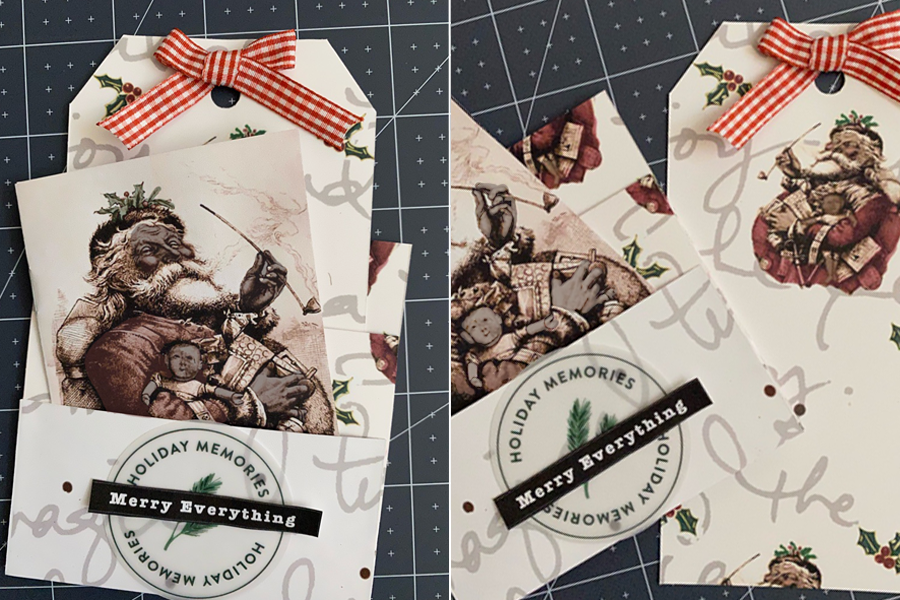
I made a tag that is double sided to use as a gift tag or make it single sided to provide a journaling spot. Place it in a 3 x 4in page protector. It certainly does not have to be 3 x 4in. You can make it whatever size works for your project.
The other tag has ample room for a photo or stamping. How about making a little booklet that can hold photos, stamping or journaling. All of these are housed in a folded little folio that has two spots to hold the booklet and tag and then flips open for an additional place for photos or again journaling or whatever you want to put there.
I printed my design out on 8.5 x 11in, 61lb, photo supreme double sided matte paper by staples. If I were going make something that required folding, I would not use such a heavy paper. The little folded piece was printed on 44lb Epson Premium Presentation paper Matte.
So get crackin’ !
Top 5 steps to keep in mind when designing your own scrapbook paper
- Go through your digital stash
- Choose some colors to match a photo, or other artwork
- Play around in Photoshop or whichever graphic program you use to add elements, change color or size of elements, or make your own.
- Create your own holiday scrapbook paper!
- Print it and make a scrapbook page, journal spot, a tag or whatever your crafty mind can think of.
